
Last updated October 30, 2026
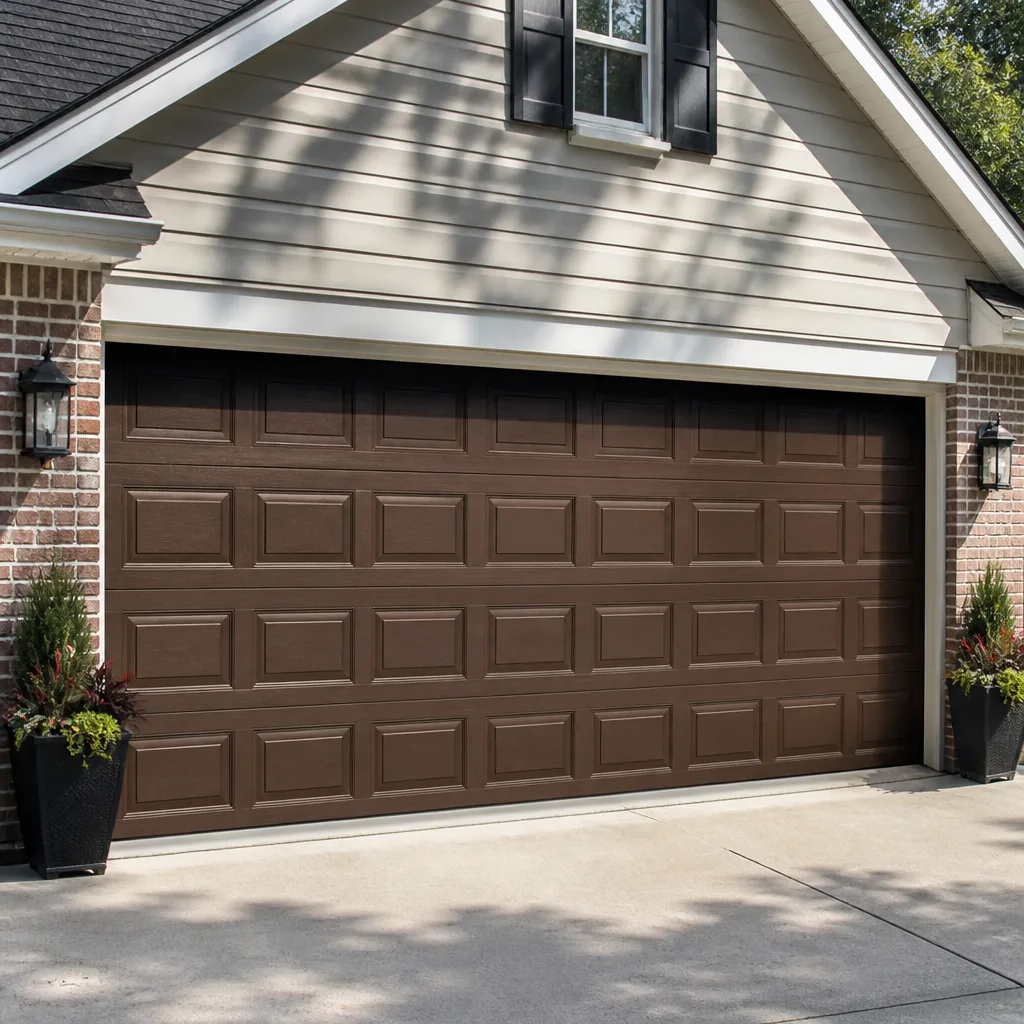 Raised-panel steel
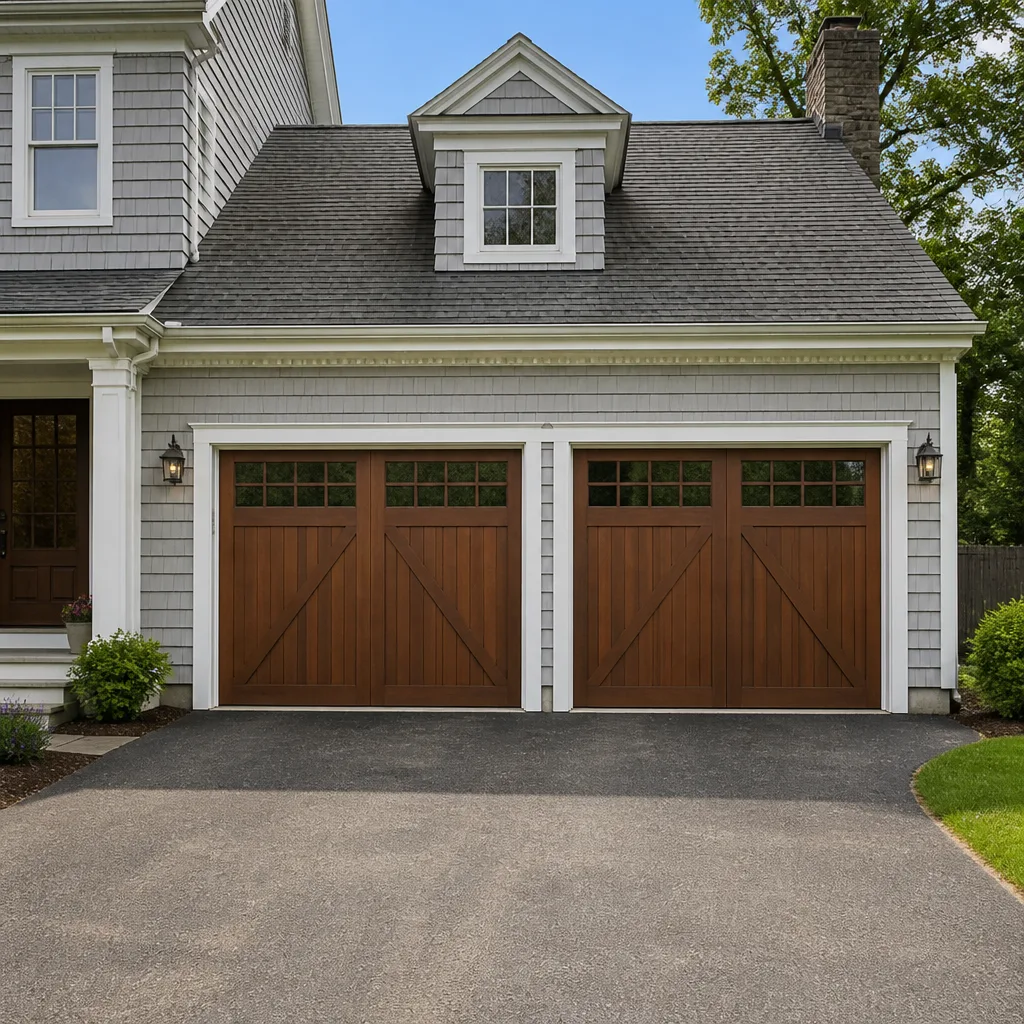 Carriage house
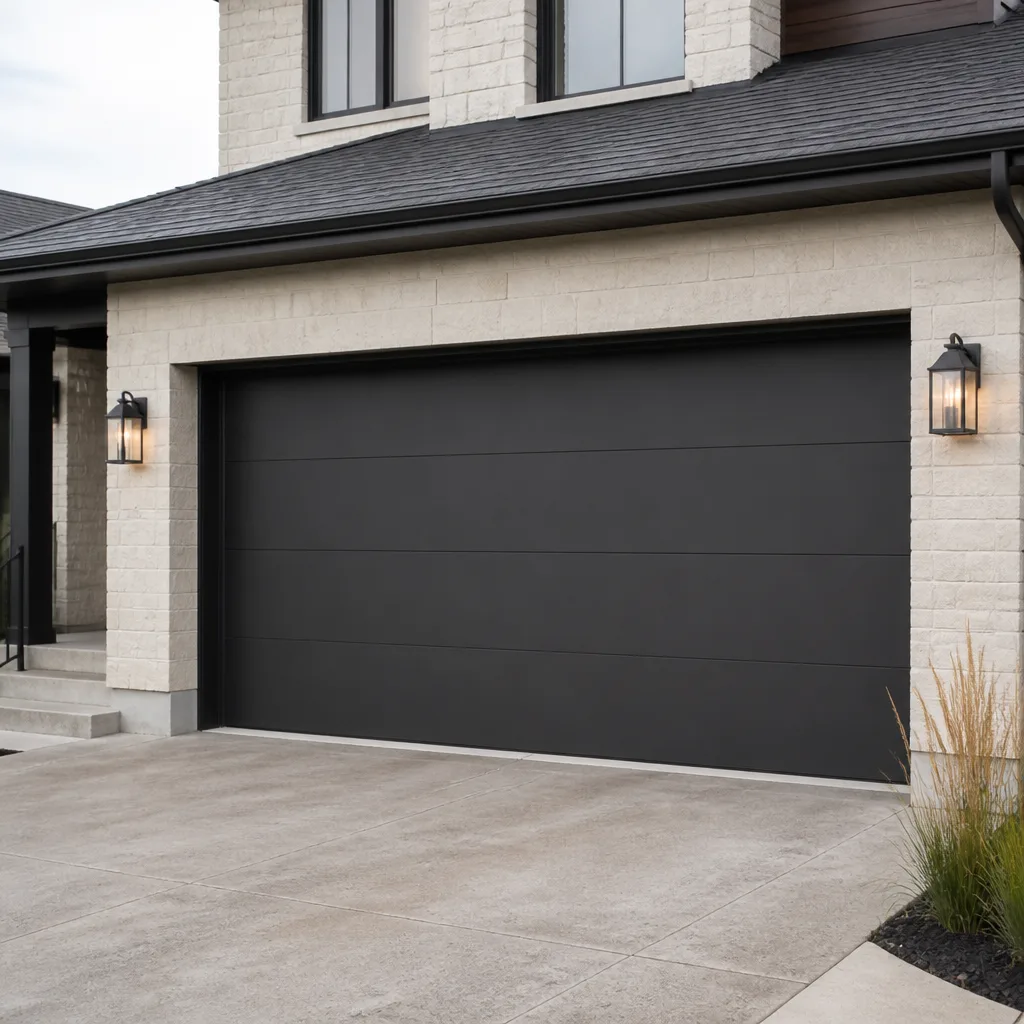 Modern flush
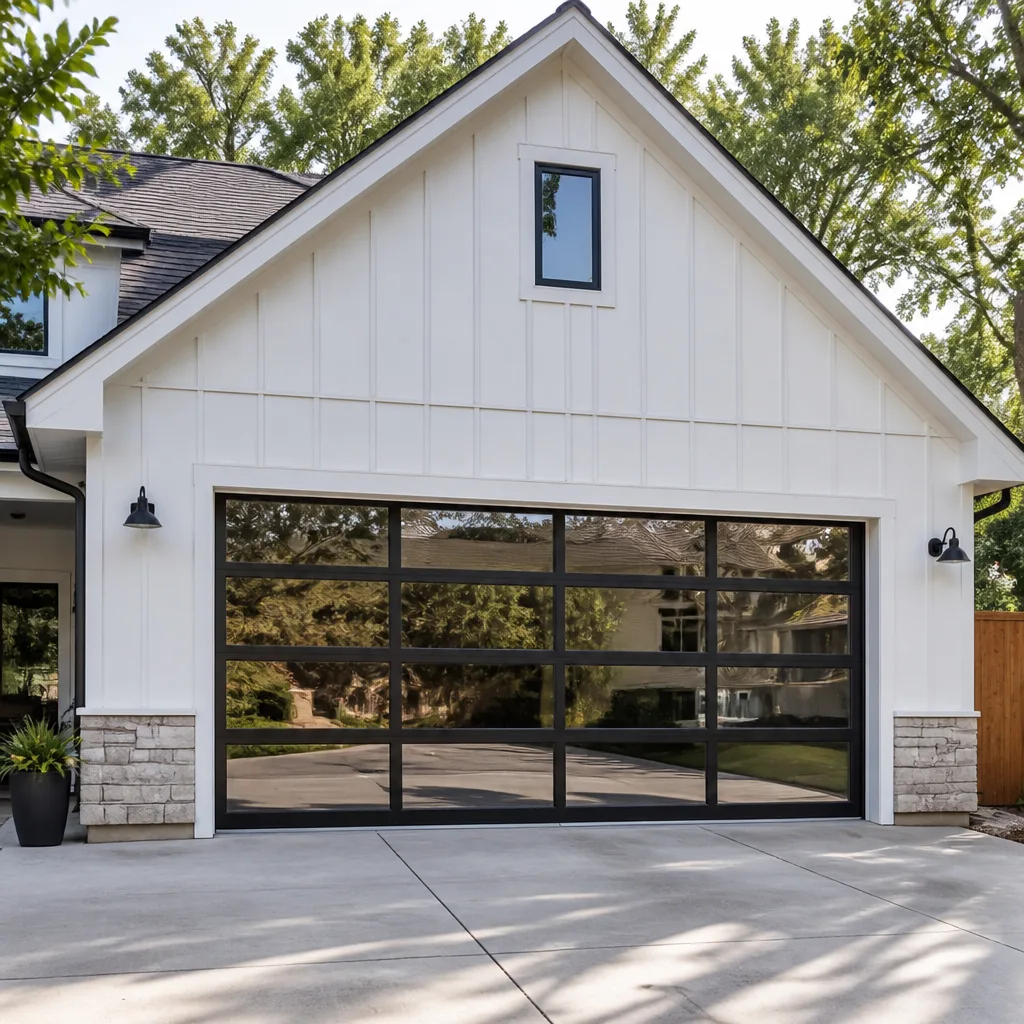 Full-view glass
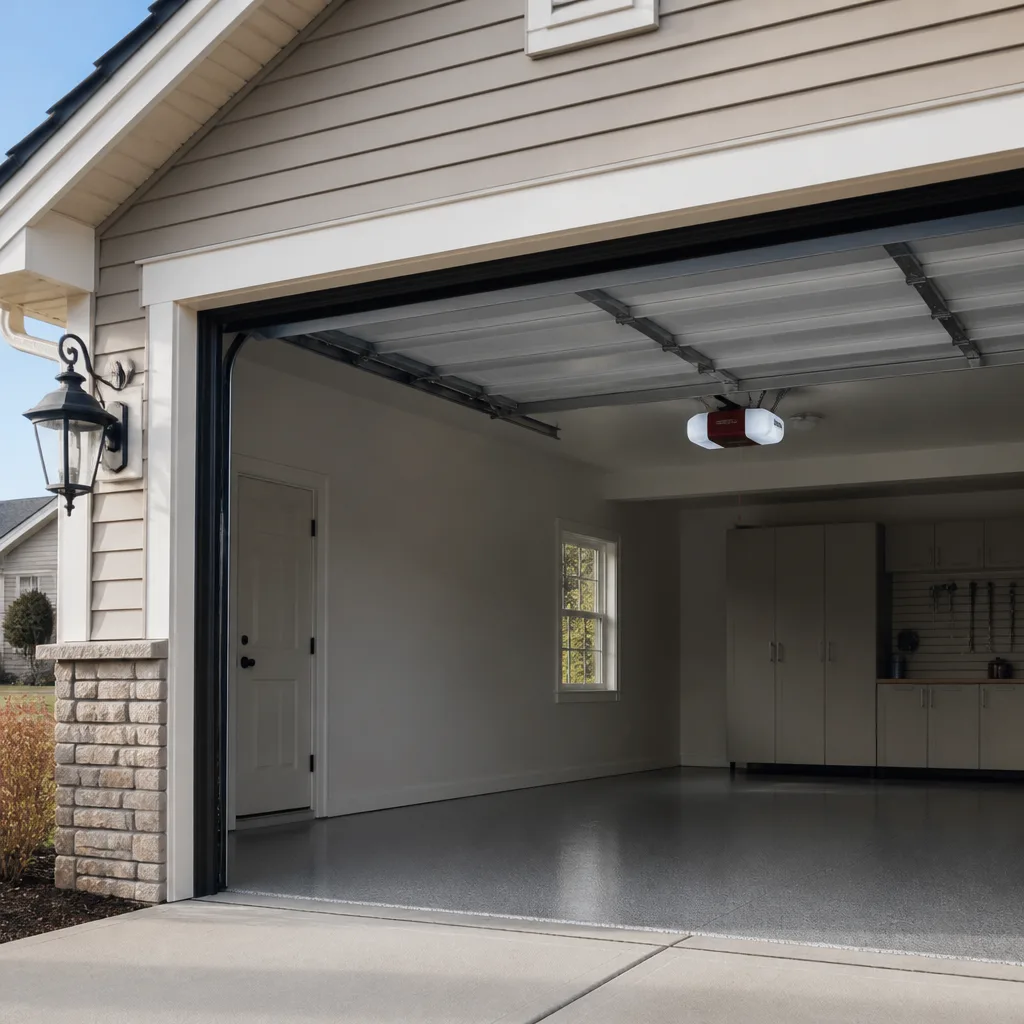 LiftMaster openers
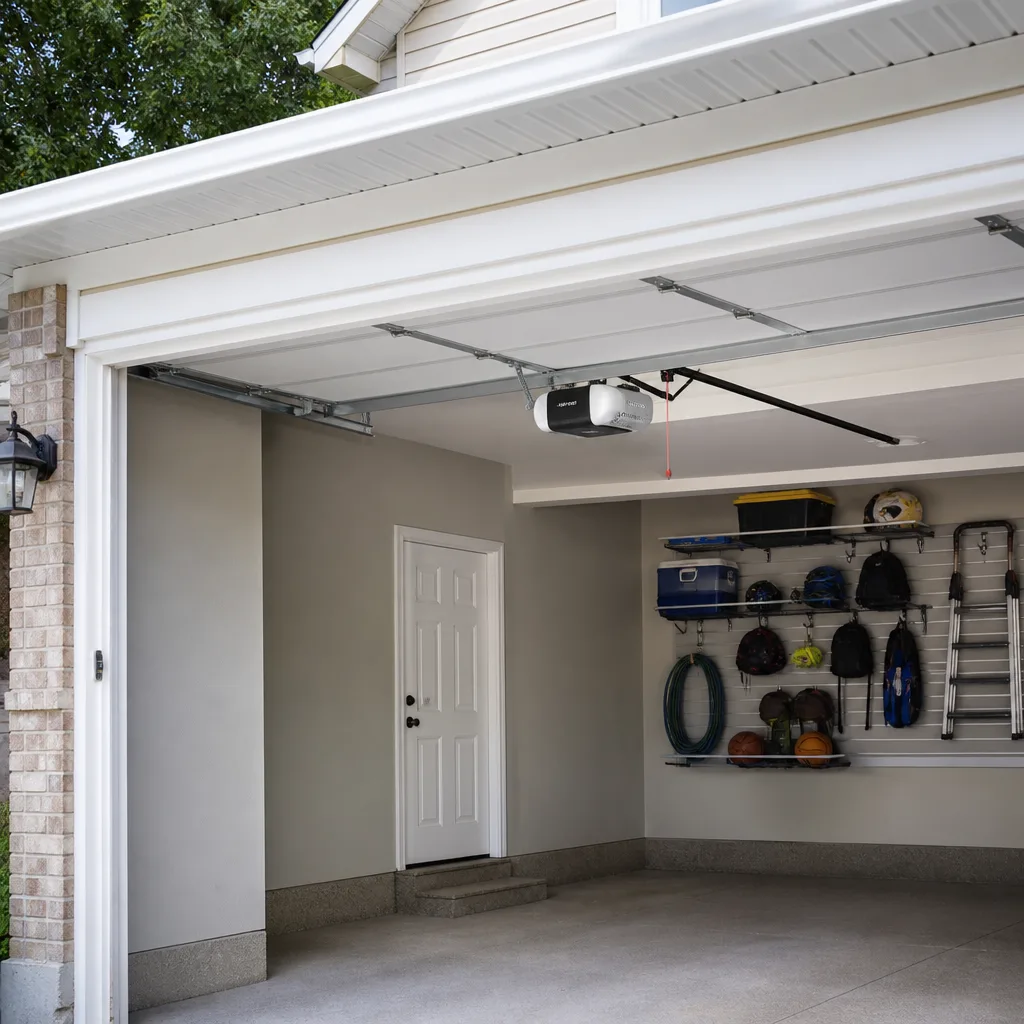 Chamberlain openers
Full 25-point door and opener safety check with every visit - springs, cables, rollers, tracks, and your LiftMaster or Chamberlain opener included
You get a price before we start. It does not change when the truck arrives.
Get your free estimateGarage Door Repair Troubleshooting: Common Problems and How to Fix Them
Here’s a stat that surprises most Carlsbad homeowners: the single most misdiagnosed garage door problem is a door that won’t close all the way. Homeowners replace the safety sensors about 60% of the time, when the real culprit is a limit switch setting that takes 30 seconds to adjust with a flathead screwdriver. This guide walks you through the same diagnostic logic our Garage Door Repair services use, symptom by symptom, so you can separate an opener problem from a mechanical door problem, decode what your opener is trying to tell you with its blinking lights, and know when a repair makes sense versus when replacement math takes over. You’ll finish with a decision tree that works on any door brand, any opener type, and any age of system.
Quick Answer
Most garage door failures trace to one of five root causes: a spring that lost tension or broke, a safety sensor knocked out of alignment, a limit switch that drifted out of setting, a stripped gear inside the opener, or a track obstruction. The fastest way to narrow the field is a manual-release test: pull the red emergency cord, lift the door by hand, and note whether it moves smoothly or fights you. Smooth movement points to the opener; resistance points to the door itself.
Styles & brands we work with
Table of Contents
- The Diagnostic Decision Tree: Opener vs. Door
- The Manual-Release Test Most Guides Skip
- Decoding LED Blink Codes on Four Major Opener Brands
- Grinding, Squealing, and Rattling: Timing Changes the Diagnosis
- Spring Failures: Torsion vs. Extension and What Each Means
- Why Your Door Reverses When Closing
- Repair vs. Replace: The Parts-Cost Sanity Check
- Common Mistakes to Avoid
- When to Call a Professional
The Diagnostic Decision Tree: Opener vs. Door
Every garage door complaint lands in one of two categories, and knowing which one you’re in changes everything about the fix. An opener problem lives in the motor, the drive mechanism, the logic board, or the safety sensors. A door problem lives in the springs, rollers, hinges, tracks, or panel weight distribution. Mistaking one for the other is how homeowners end up replacing a $280 opener motor when the real issue was a $90 set of extension springs.
Here’s the decision tree we walk through on every service call, whether we’re in Carlsbad’s La Costa neighborhood or out near Bressi Ranch:
- Does the opener run at all? If you press the wall button or remote and hear silence, check the power source first: outlet, GFCI reset, breaker. If the opener hums but doesn’t move, the motor is getting power but the drive gear or belt is failing. If the opener lifts the door a few inches and stops, suspect spring tension or a track obstruction.
- Does the door move when the opener is disconnected? This is the manual-release test detailed below. It splits everything into opener-side or door-side.
- Does the door bind at a specific point? A door that moves smoothly for ten inches then sticks usually has a bent track, a worn roller at that height, or uneven spring tension. A door that’s rough the entire travel has a more systemic issue: both springs fatigued, misaligned tracks, or panel sag.
- Does the problem get worse with humidity or temperature? In coastal Carlsbad, salt air accelerates roller corrosion and hinge wear faster than inland markets. Wood doors swell slightly during marine layer months, and that changes track clearance. If your door sticks more in June than in December, the issue is often environmental clearance, not a broken part.
This sequence costs you nothing but ten minutes and saves you from replacing parts that weren’t broken. We find that roughly one in three “opener repair” calls arriving through our Garage Door Opener Repair in Carlsbad page are actually door-side problems the homeowner assumed were opener failures.
The Manual-Release Test Most Guides Skip
The fastest diagnostic on any garage door system is the manual-release test, and a surprising number of troubleshooting guides never mention it. Here’s the procedure, step by step:
- Close the door fully. If the door is stuck open and won’t close, skip to step 4 with caution: a door stuck open with a broken spring is heavy and will slam if released improperly.
- Pull the red emergency release cord. It hangs from the opener rail, usually near the motor head. Pulling it disconnects the door from the drive mechanism.
- Lift the door manually. Use the handle or the bottom edge, not the panels. The door should lift smoothly with manageable weight, roughly 20 to 40 pounds of effort for a balanced door. It should hold position at the halfway point when you let go.
- Lower the door manually. Same expectation: smooth, controlled, no catching.
What the results tell you:
- Smooth and balanced: The door is fine. Your problem is opener-side: motor, drive gear, belt or chain tension, logic board, or sensors.
- Heavy or slams shut: The springs are not carrying the load. A torsion spring above the header or extension springs on the horizontal track have failed or lost tension. Do not attempt to replace these yourself; the stored energy in a garage door spring is enough to cause serious injury. This is a job for a trained technician.
- Catches at one spot: A roller is seized, a hinge is binding, or a track section is out of parallel at that height.
- Lifts easily but drifts down: Torsion spring tension is uneven from side to side, or the spring needs a quarter-turn adjustment.
- 1 blink: The safety sensor wires are disconnected or the sensors are misaligned. Check that both sensor eyes face each other and the small LED on each is lit. A single solid green and a solid amber is what you want.
- 2 blinks: One safety sensor wire is shorted or reversed. This is typically a staple through the wire insulation or a splice that came apart.
- 3 blinks: Door control or wall button wire short. Rarer, but causes the opener to behave erratically or refuse to respond.
- 4 blinks: Sensor eyes are misaligned or obstructed. This is the most common blink code we see, often after a broom or a bike nudges a sensor bracket.
- 5 blinks: Motor overheated. The opener has a thermal overload, usually from cycling the door too many times in a short window. Let it cool for 15 minutes.
- 6 blinks: Logic board failure. The fix is a board replacement, and at that point you’re comparing board cost against opener replacement.
- 1 blink: The opener’s Safe-T-Beam system sees an obstruction or misalignment. Genie uses a single red LED on the motor head, not per-sensor lights, so you check the sensor alignment visually.
- 2 blinks: The Safe-T-Beam is wired incorrectly or a wire is damaged. Common in older Carlsbad homes where garage wiring predates modern low-voltage conventions.
- 3 blinks: The force setting needs adjustment. The opener thinks the door is too heavy or binding, and it’s tripping the force limit.
- 4 blinks: The wall console is wired wrong or the lock button is engaged. The wall console lockout disables remotes but allows wall-button operation.
- A visible gap in the spring coil, usually about two inches, meaning the spring snapped
- The door lifts a few inches and stops, or won’t lift at all despite the opener running
- A loud bang from the garage, often described as “a car backfiring inside”
- The door is noticeably heavier when manually released
- A spring that’s visibly stretched with a gap between coils
- One side of the door sitting higher than the other
- The door jerking to one side when opening or closing
- A safety cable that’s gone slack, meaning the spring no longer holds tension
- Sensor misalignment. The two photo eyes at the bottom of the door tracks must point directly at each other. A nudge from a garbage can, a basketball, or even a heavy vibration from a closing car door is enough to knock one out of line. The fix is usually a gentle adjustment of the sensor bracket until both LEDs are solid.
- Sensor obstruction. A leaf, a cobweb, or accumulated dust on the lens. In Carlsbad’s drier months, floating dust and native plant debris make this more common than homeowners expect. Wipe the lenses with a dry cloth.
- Limit switch drift. The close-limit setting tells the opener how far down the door should travel. If the setting drifts, the opener thinks the floor is higher than it actually is, hits the “floor” early, and reverses. Adjusting the close limit on the opener body usually solves it.
- Force sensitivity set too low. If the opener’s force threshold is too tight, it interprets normal door weight as resistance and reverses. This happens after a new door install, after spring replacement, or after years of passive drift.
- Actual obstruction. The door is catching on something: a bent bottom seal, a floor rise, a track bracket that shifted. Run the manual test to feel for binding.
- Spring replacement on a door under 12 years old: Almost always worth the repair. Springs are wear items, like brake pads. Replacing them is expected maintenance, not a sign the door is dying. Expect a service life of 7 to 15 years depending on cycle count and whether the builder used high-cycle springs.
- Spring replacement on a door over 18 years old with panel rust: The spring is only the first repair. Rusted panels mean the structural integrity of the door itself is failing. You’ll likely face roller replacement, hinge replacement, and bottom seal replacement within two years. Full replacement starts making more sense.
- Opener gear replacement on a motor over 15 years old: The gear kit is cheap, the labor isn’t. If the motor is nearing its expected lifespan, a new opener with a modern DC motor and updated safety features often costs only marginally more than the gear repair.
- Track replacement after impact damage: When a car backs into a closing door, the tracks bend. Track replacement is labor-intensive, and if the door is older, replacement often wins the cost-per-year math.
- Replacing sensors without checking the limit switch. The blinking sensor light creates a false confirmation. Check limit settings and force adjustments before assuming the sensors are dead.
- Lubricating a worn-out roller instead of replacing it. Lubricant quiets a dry bearing for a week, then the noise returns. Worn rollers need replacement, not oil.
- Adding tension to a spring without understanding the existing load. Guessing at spring tension without knowing the door’s exact weight and track configuration risks a door that flies up, slams down, or sits visibly uneven. Spring work isn’t a guess-and-check job.
- Ignoring a grinding noise because the door “still works.” Startup grind means a gear is failing. It fails gradually, then all at once, usually at the worst possible moment: a rainy morning, a late night, a full garage. Early repair costs less than emergency repair.
- Disconnecting the opener when the door is partially open. Pulling the emergency release at mid-travel can send an unbalanced door crashing down. Always release with the door fully closed or, if it’s stuck open, with a support under it.
- Replacing a door panel instead of checking track alignment. A door that’s hard to close will eventually damage a panel. The fix is track alignment, not panel replacement. Replace the panel only after the track geometry is corrected.
- Assuming all opener problems are motor problems. In coastal Carlsbad specifically, salt air corrodes wire connections and sensor brackets faster than inland locations. A corroded wire nut or a rusted sensor bracket can mimic a dead motor. Check connections before condemning the opener.
We’ve used this test on every brand and opener combination you can name: Wayne Dalton doors with torsion setups, Craftsman openers with chain drives, Raynor doors with extension springs. The test behaves identically across all of them, which is why it’s step one in our diagnostic process and should be step one in yours. If you’d rather skip the DIY phase entirely, our Garage Door Repair in Carlsbad service walks through this exact sequence on every visit.
Decoding LED Blink Codes on Four Major Opener Brands
Modern openers have a diagnostic language built in: the learn button or main LED blinks a specific number of times to identify a fault. Most homeowners stare at those blinking lights without knowing they’re reading a problem report. Here’s what the blink patterns mean on the four most common brands we service in Carlsbad:
LiftMaster and Chamberlain (same parent company, same codes)
Genie
Craftsman
Craftsman openers made after 1998 use the same blink code structure as LiftMaster and Chamberlain, since the same manufacturer produced them. Older Craftsman units use a continuous flashing pattern rather than counted blinks. On those, a flashing LED with no count usually means the sensor circuit is open. A solid LED but a non-functioning door means the learn button was accidentally held too long and the opener memory was wiped, requiring remote reprogramming.
Raynor
Raynor openers pair with their own logic boards, and the blink patterns are similar but not identical to LiftMaster’s. A double blink on a Raynor typically indicates a force-profile error: the opener encountered resistance above the programmed threshold mid-travel and reversed. In our experience with Raynor systems in coastal Carlsbad garages, this is frequently a roller that’s corroded from salt air, not a software problem.
The larger point: your opener is telling you what’s wrong. The blink code narrows the problem to one or two components instead of a list of five. That’s the difference between a 20-minute fix and a two-hour parts swap that doesn’t solve anything.
Grinding, Squealing, and Rattling: Timing Changes the Diagnosis
Most noise guides collapse every bad sound into one generic answer: “lubricate it.” That misses the diagnostic gold in when the noise happens. The same gear can produce three different sounds at three different points in the travel, and each points to a different fix.
Noise at startup (the first 2-3 seconds)
A grinding or shuddering sound the moment the opener engages usually means the drive gear is worn. On chain-drive openers, the plastic gear inside the motor head wears a flat spot after years of use. A Craftsman or LiftMaster opener from the 2000s and early 2010s is particularly prone to this. The gear kit costs roughly $30 to $50, but the labor to open the motor head and reset the drive assembly makes it a borderline call against opener replacement. If you hear the same grinding only after the door has been closed overnight, the cold start is exposing a worn gear that smooths out once it warms.
Noise at mid-travel
A squeal or rhythmic squeak at the midpoint of travel is nearly always a roller problem: either a dry bearing or a roller that’s seized and sliding instead of rolling. If the door has metal rollers, a specific tick-tick-tick at the same spot is often a flat-spotted bearing. Nylon rollers don’t flat-spot the same way but do wear a groove from the track. The fix is roller replacement, not lubrication, and modern nylon rollers with sealed bearings are a direct swap on most doors including the older Wayne Dalton and Raynor tracks we see throughout Carlsbad’s older neighborhoods.
Noise at the close cycle only
A rattle or chatter that appears only when the door closes points to loose hardware, not bearings. The hinge bolts, track brackets, and panel fasteners loosen over time, and the door only “talks” when the weight shifts in a specific direction. Tightening the bolts takes fifteen minutes and a socket set. If the rattle comes from inside the motor head at close, the issue is usually a worn chain or belt idler pulley rather than the motor itself.
The timing distinction matters because each path leads to a different fix, a different cost, and a different urgency level. Startup grind means you’re likely facing opener work. Mid-travel squeal means door hardware. Close-only rattle means tightening. We recommend marking the exact point on the track where the noise is loudest before you call anyone; it’s the single most useful piece of information a homeowner can hand a technician.
Spring Failures: Torsion vs. Extension and What Each Means
Garage door springs do the actual heavy lifting. The opener is just the engine; the springs are the suspension. When a spring fails, the door becomes a dead weight that the opener either struggles against or refuses to move entirely.
Torsion springs
These mount on a shaft above the door opening, typically one on each side for double doors or a single spring for lighter single doors. They wind and unwind to store and release lifting force. Signs of a torsion spring at or near failure:
Torsion springs are sized by door weight, height, and track radius. A spring rated for 10,000 cycles costs more than one rated for 7,000, and the price difference often shows up in the original builder install. Which is why two identical Carlsbad houses can have wildly different spring lifespans: one builder used a high-cycle Raynor-spec spring, the neighbor’s used a standard cycle count.
Extension springs
These run along the horizontal track on each side of the door. They stretch when the door closes and contract when it opens. Older doors and lighter aluminum doors often use extension springs, including many of the original installations in Carlsbad’s ranch-style homes from the 1970s and 1980s. Signs of extension spring failure:
A critical safety note on both spring types: the stored mechanical energy in these components is substantial. A torsion spring under load carries enough force to break bones or worse if handled improperly. Replacement requires specific winding bars, correct spring sizing, and a precise winding and unwinding sequence. The fact that spring kits are sold at hardware stores doesn’t make this a safe DIY project. Even in a tool-rich city like Carlsbad, this is the repair we tell homeowners to hand over without hesitation. One call to a specialist such as our team at Flagstone Garage Door Repair home is the difference between a safe fix and a visit from paramedics.
Why Your Door Reverses When Closing
The door drops a foot, reverses, and opens again. It’s the second most common complaint we see after spring failures. The safety reverse system is doing its job: the opener detected either an obstruction or excess force and dutifully reversed. The diagnostic question is whether it detected a real obstruction or a false one.
The usual suspects, in order of likelihood
The most misdiagnosed item on this list is the limit switch. We’ve watched homeowners replace perfectly good sensors because they saw the blinking light and assumed sensor failure. But on an opener with a solid sensor circuit, the limit setting is often the hidden variable. A 30-second adjustment with a flathead screwdriver on the travel limit dial is sometimes the entire repair.
One nuance worth knowing for newer openers: DC-motor models with smart logic sometimes reverse because the door’s weight profile changed, not because anything is broken. A new coat of paint, a replaced panel, or a heavy handle added enough weight to trip the force threshold. If the issue started right after a change to the door itself, check the force adjustment before assuming a mechanical fault.
Repair vs. Replace: The Parts-Cost Sanity Check
Not every repair deserves to be made. Some repairs are financially reasonable and extend the door’s life by years. Others are throwing good money after a door that has reached the end of its useful life. Here’s the math we use when a Carlsbad homeowner asks whether to fix or replace:
Here’s the rule of thumb we share with homeowners deciding on Garage Door Installation in Carlsbad: if the repair cost exceeds half the cost of a new door and the existing door is over 15 years old, replacement is usually the better financial decision. A new door brings new rollers, new tracks, new springs, and a new safety system. A repair on an aging door fixes one component and leaves five others near the end of their lifespan.
That’s not a sales pitch. It’s arithmetic. We’d rather tell you honestly that a $275 spring replacement on a 14-year-old door makes sense than sell you a $2,500 replacement you don’t need. This is the same math we’d run on our own garage.
Common Mistakes to Avoid
When to Call a Professional
Some problems are genuinely DIY-appropriate: sensor alignment, limit adjustment, lubrication, tightening loose bolts. Others are not. Call a professional for any spring-related issue, any problem requiring you to work with the opener’s internal motor components, track replacement, or any repair where you feel uncertain about the safe handling of the door. The common thread: when the fix involves stored energy, overhead weight, or electrical work, the risk calculus shifts. For How to Hire a Garage Door Contractor in Carlsbad: A Step-by-Step Guide, Flagstone Garage Door Repair offers free estimates in Carlsbad; call (877) 626-0784 and a garage door specialist can walk you through the diagnostic over the phone before scheduling anything. We service all eight major brands, so whatever system you have, the repair discussion starts from knowledge rather than guesswork.
See the difference
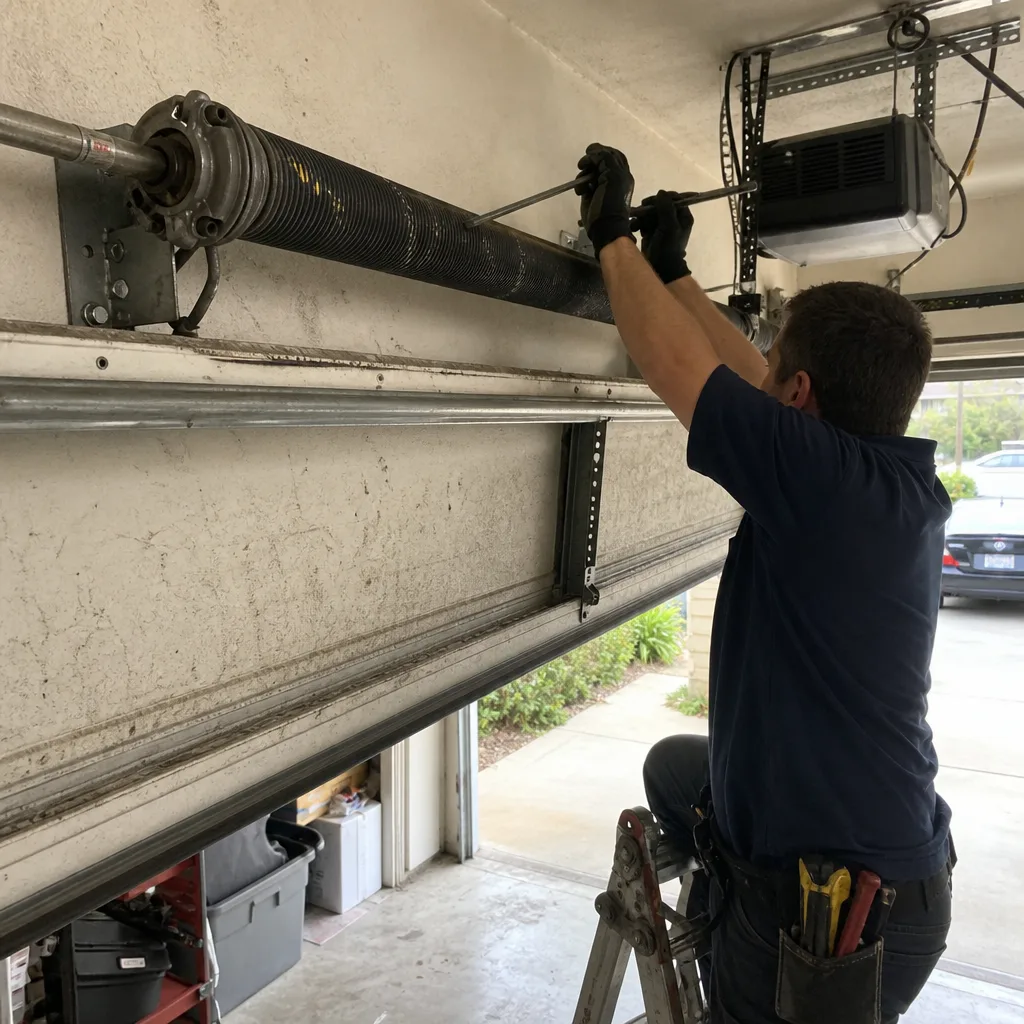 Before
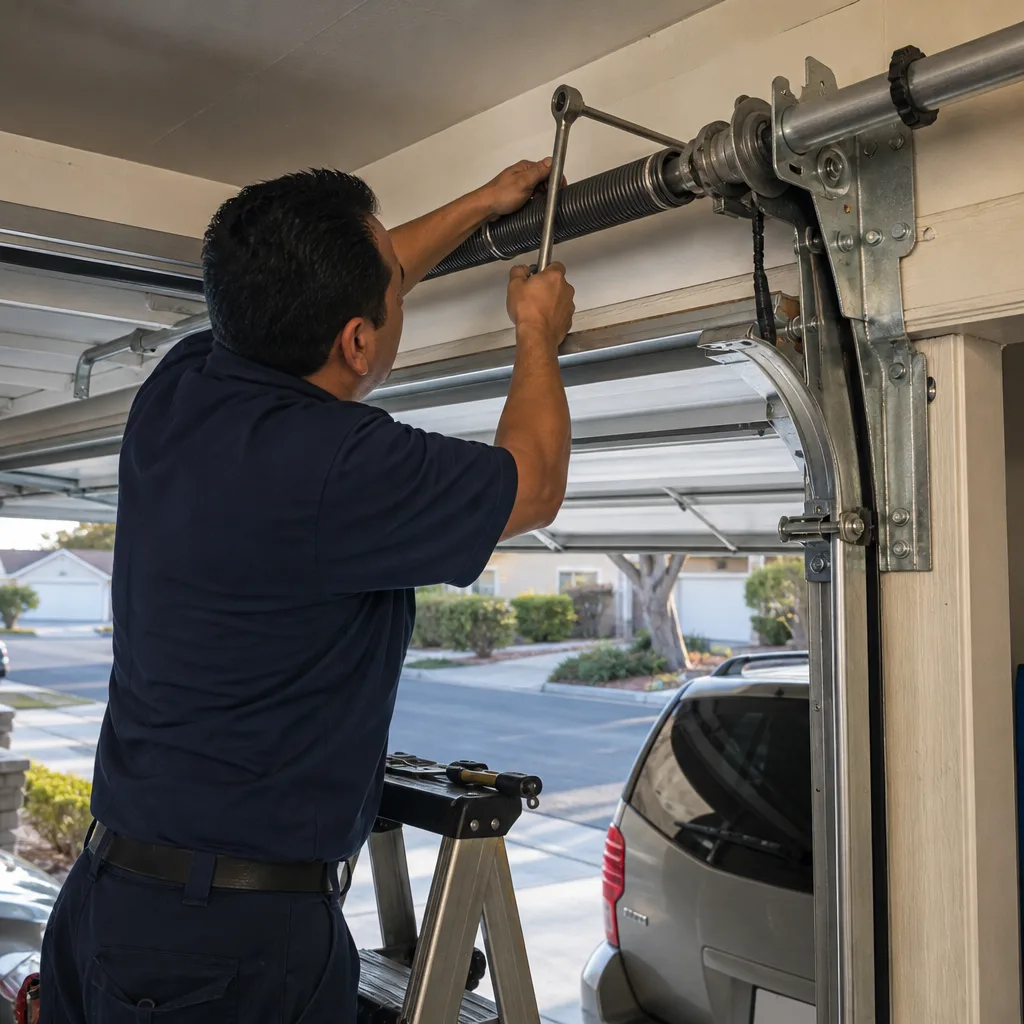 After
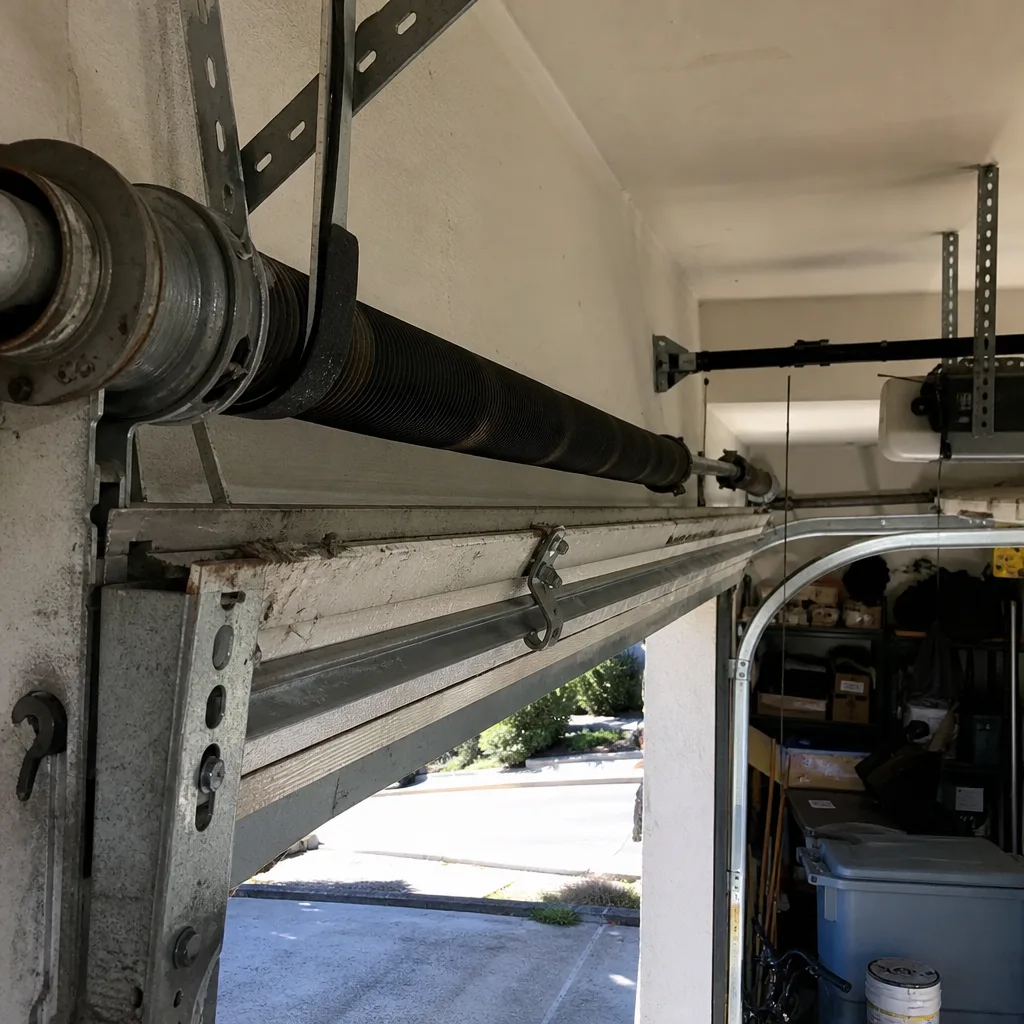 Before
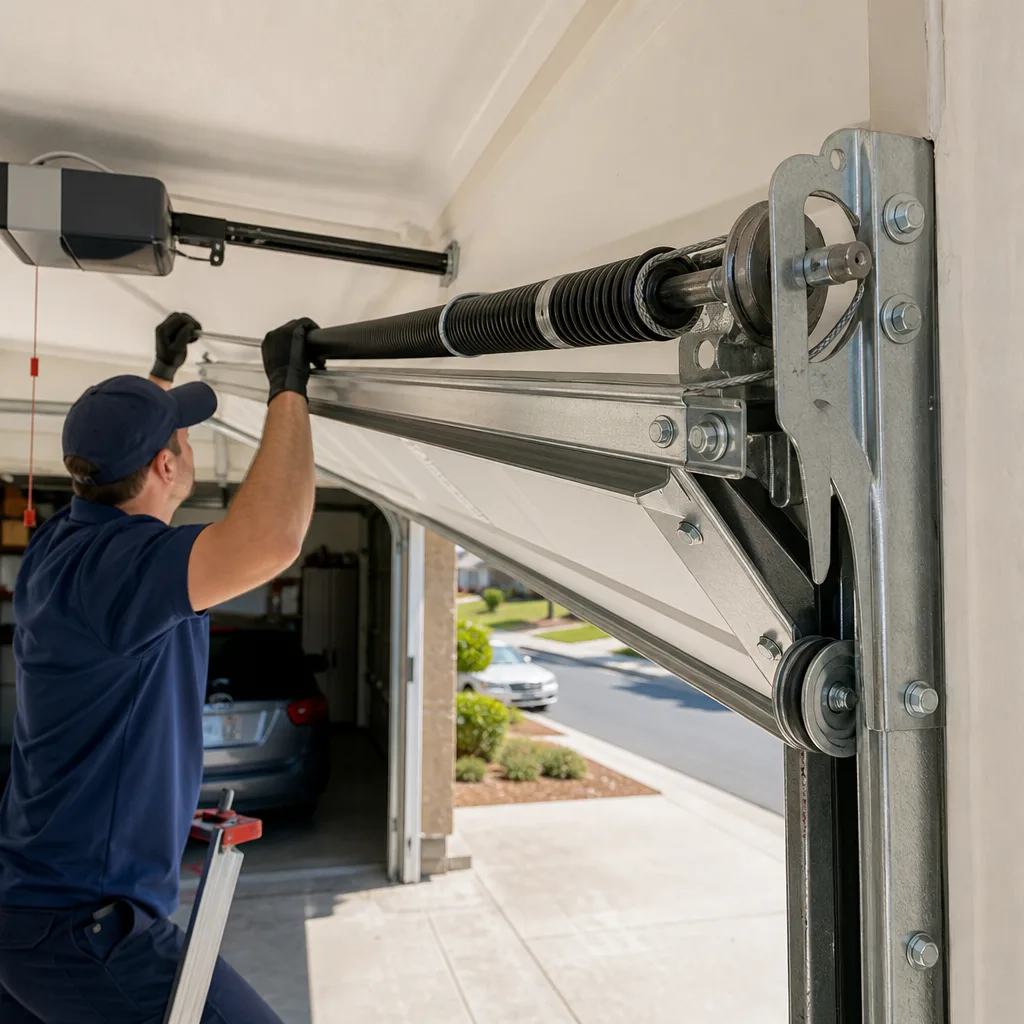 After
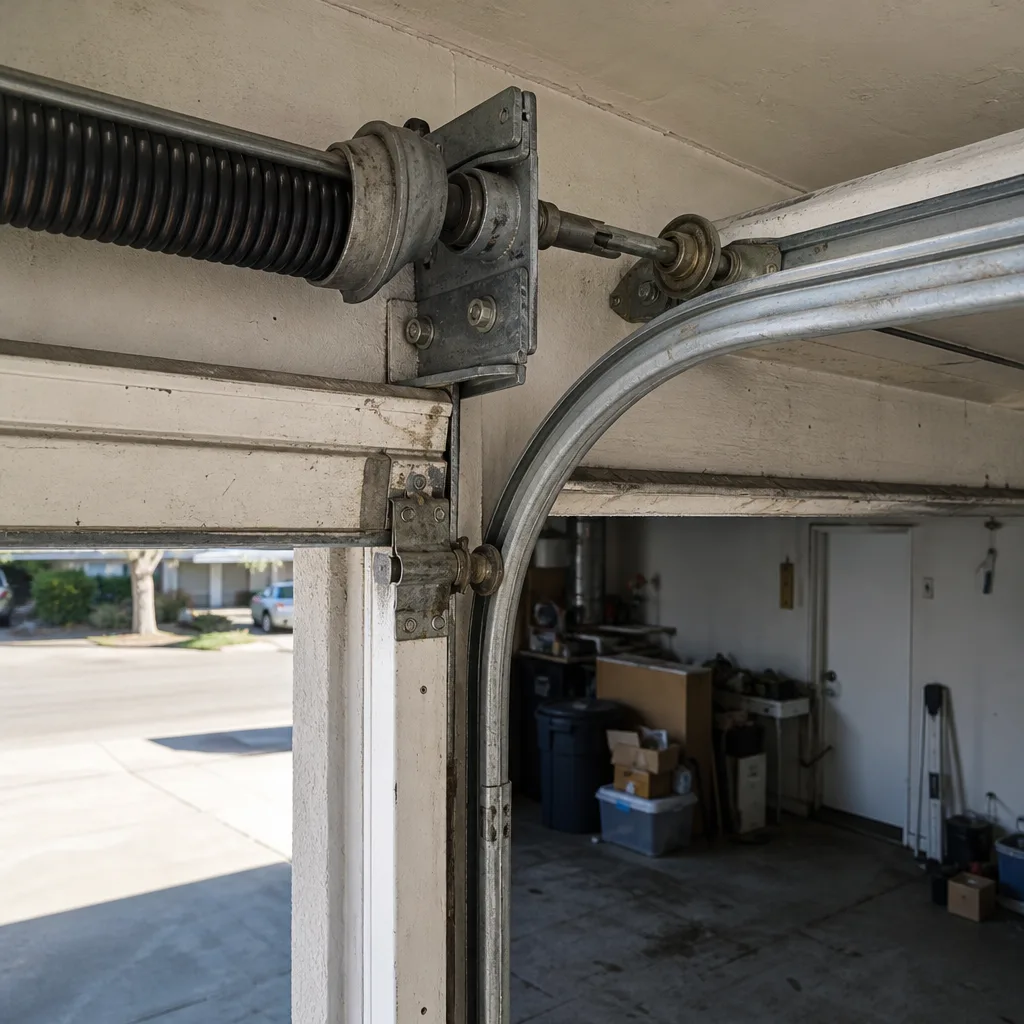 Before
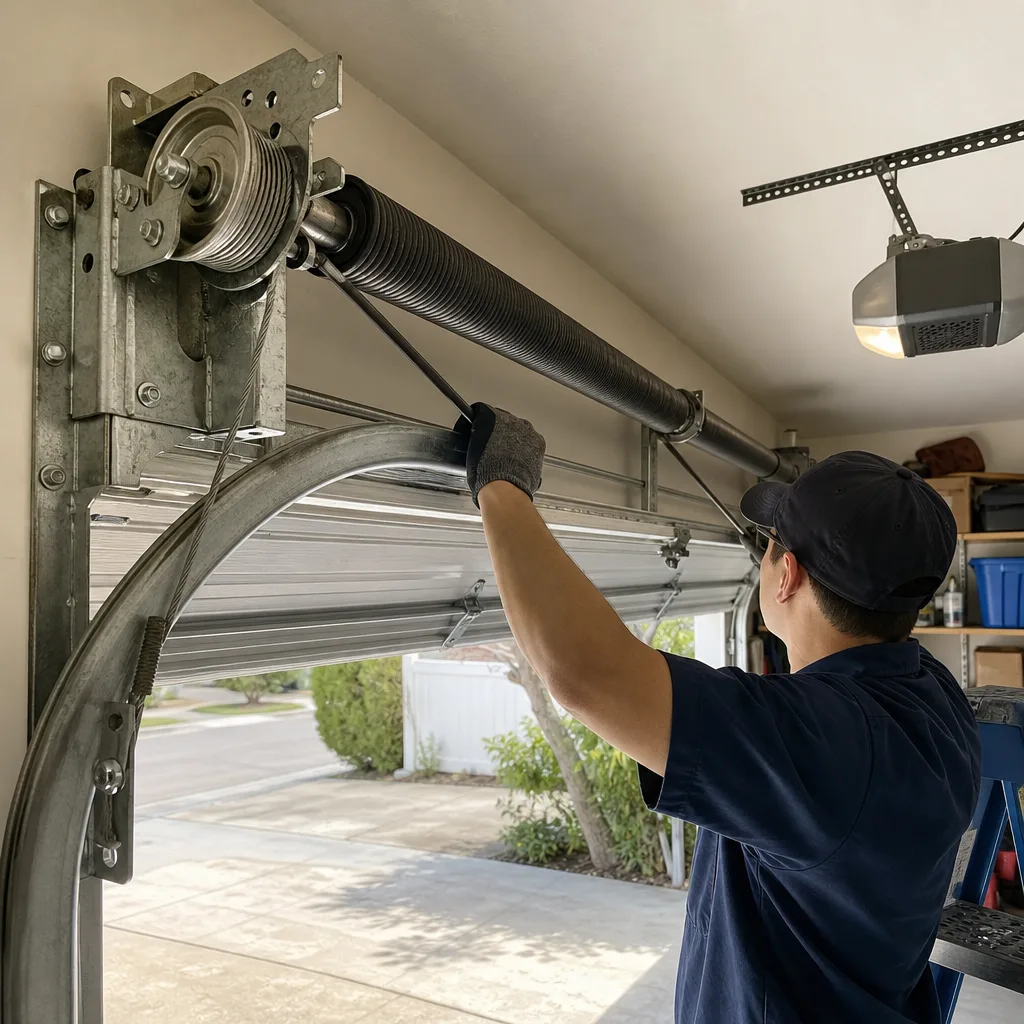 After
Frequently Asked Questions
Minor repairs like sensor alignment or limit adjustments typically run $85 to $150. Spring replacement on a single torsion spring door runs roughly $180 to $340 including parts and labor. Opener gear replacement lands in the $150 to $250 range depending on the brand. For an exact quote on your specific system, call (877) 626-0784 and describe the symptoms; we quote over the phone whenever possible, and the price is confirmed before any work starts.
In most cases, yes. We carry common parts for LiftMaster, Chamberlain, Genie, and Craftsman openers, plus standard spring sizes, so many repair calls in Carlsbad are completed in a single visit. If your door uses a less common part, we’ll schedule the repair as soon as the part arrives and keep you updated in the meantime.
If the door is stuck open with a broken spring, do not attempt to close it manually. The door is likely holding its position because the opener is stalled, not because the door is balanced. Call (877) 626-0784 and we’ll prioritize an emergency visit. If you need to secure the garage for the night, keep the opener disconnected and close the door into the garage for security.
Temperature and humidity change the clearances inside the track. In Carlsbad’s marine layer cycle, hot afternoons expand metal components slightly, tightening track clearance and exposing binding that wouldn’t show up in cooler mornings. The fix is usually track lubrication or a minor track alignment adjustment. If the binding is severe, roller replacement restores proper clearance.
We service everything from 20-year-old chain-drive Craftsman units to current smart openers with DC motors. Because garage doors are the only trade we work in, our technicians have seen the full generation range and the full brand range: Wayne Dalton, Raynor, LiftMaster, Chamberlain, Genie, Craftsman, Amarr, and Clopay. No “we only work on what we sell” limitations.
No. The price we quote over the phone is the price you pay, unless the on-site diagnosis reveals a second problem that wasn’t visible during the phone call. In that case, we’ll show you the issue, explain the additional work, and get your approval before proceeding. No surprise invoices, no last-minute add-ons.
The Bottom Line
Garage door troubleshooting isn’t a guessing game. The opener tells you what’s wrong through blink codes. The door tells you what’s wrong through the manual-release test. The noise tells you what’s wrong through its timing. When you approach the problem in that order, you’ll usually land on the right answer in ten minutes instead of two weekends of trial and error. For homeowners in Carlsbad who’d rather skip the diagnosis and hand the problem to someone who does this every day, or who want more guides & resources, Flagstone Garage Door Repair is one call away at (877) 626-0784. We’ll quote the repair over the phone, confirm the price before starting, and get your garage back in service without the parts swap roulette.
Written by the team at Flagstone Garage Door Repair, serving Carlsbad since 2014.